With so many exciting WordPress themes being launched every month, you can hardly do without remembering the simple steps that you need to take in order to install a WordPress theme. This tutorial teaches you the procedure to do so.
Obviously, you need a theme before beginning the installation process. There are so many free WP themes available on the World Wide Web that you will have a tough time selecting a chosen few.
However, once you do shortlist a theme, see a preview of the same and download it. Mostly, a zip file is saved on your hard disk. Next, extract the contents of the zip file and open the recently formed folder. Generally, there will be a Readme file inside the folder.
This is an important reference document and also contains the license of the theme in most cases.
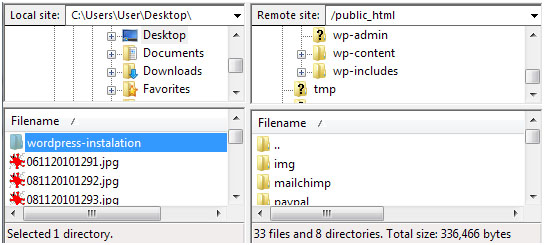
Now, you need to upload the entire folder to the WordPress installation, that’s the folder with the address websitename.com/wp-content/themes. An FTP client serves you well in such cases.
You could always use a file manager, but that would take a lot of time as you would need to upload files one by one. Instead, FTP allows easy uploading. This is precisely the reason why web hosts provide FTP services.
Once the uploading part of the job is done, you are just left with the activation of the template. Login to websitename.com/wp-login.php and find Appearance option. Under this, choose Themes and select the new theme. Now, click on the Activate option.
Once this is done, you have to refresh the website and it will load again with the new theme. You will have to be a really hard nut to crack if you can’t find a suitable free theme for your website. But in such a case, you can always invest a few dollars in buying a powerful and catchy theme.


