Owing to its simplicity and flexibility, Contact form 7 has become a rage of late among WordPress users. It allows you to manage multiple contact forms, plus the user is also enabled to customize the form and the mail contents flexibly with simple markup. The form supports ajax powered submitting, captcha, spam filtering and a whole host of other options.
Contact form 7 is one of the several WordPress plug ins that are available on the web and like most other plug ins of its kind, there are only a small number of steps one needs to follow in order to ensure a successful installation. Before installation of any plug in, it is always a good idea to take a backup of any recent data that you might have and then going ahead with the installation.
Log onto the WordPress website and go to the plug in option. Once you are there, under the plug in option, you will find an option that says “add new”. This is the option that lets users add new plug ins. Click on that option.
This opens a new menu which allows the user to search for new plug ins. Under the search option, type “contact form 7”. The page will consequently refresh and reload. Once that is done, click on the option that says “install now” which will be located right under the contact form 7.
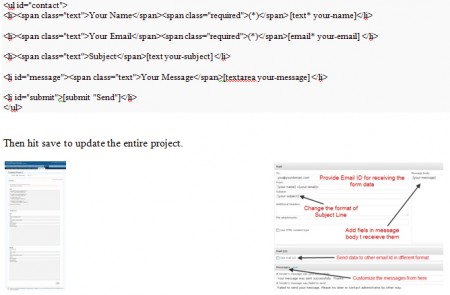
After the plug in has been downloaded, the next step is to activate the plug in, which can be done using the activate plug in option. If the activation is successful, the user should have a contact tab in the menu on the left side of the screen. For further editing of the form text area, to give a nice clean style to the entire presentation, click on the contact tab and replace the code in the textbox with the below mentioned code:


