Lists in wordpress denote the user that a clear navigation system is present within the site. Most wordpress users make use of lists in the sidebar or menus to help users have an overview of their site. So obviously to create a difference between the lists a different styling would be required. Here the steps to create multiple list-styles with CSS in wordpress are explained. WordPress makes use of classic XHTML and CSS elements to create the list styles.
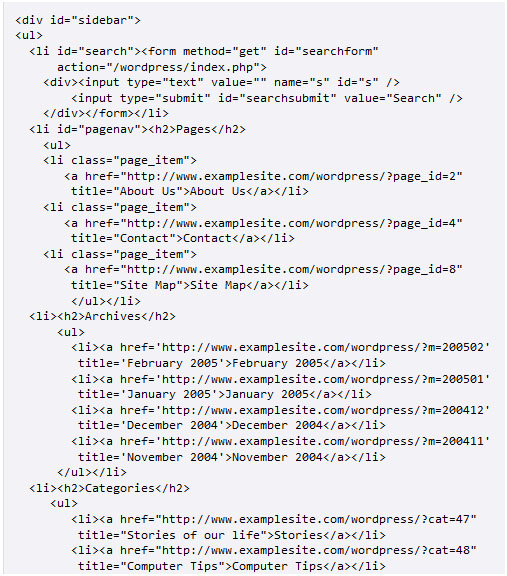
So the first step would be to navigate through your site template or theme folder and find the file called style.css. It’s also very common for the theme developers to name the list file as sidebar.php or menu.php, find the file and open it, it should look something like shown below.
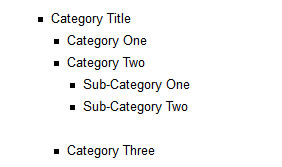
The ul id defines the styling and structuring of the entire list, and the li id assigns the style to the actual list item. So if you need to create nested lists on one below another, create increasing <ul><li> elements after the first element. So for creating a subcategory list after the main list, the code should start with the element <ul><ul><li> and further list elements can be added as required. Hence a multiple style list will look like the following
To create individual styling elements for each list item, a specific input id has to be given. The default bullet style provided for the lists would be a disc in the .php file. If you want to change the style of the list using multiple list styles, find the code
#sidebar li {
List-style: disc;
}
Now in the list style you can change the default value and add any style as you desire such as circle, square, decimal, decimal-leading-zero, lower-roman, upper-roman, and none. Also you can add your own customized image to the list bullet.


