
A WordPress website’s posts and pages have a header and footer area, where the header is regarded as the top section of the page and the footer is the one on the bottom of the page. Typically, when someone visits a new website, their attention is often attracted by the header and footer. This is why, the headers and footers are considered as important by the website owners, and they usually use it to display the key information that they want to propagate to the users.
Undoubtedly, it’s important to design your header and footer area carefully while developing the website. Also, the information which we put in these areas should be cautiously chosen.
How To Add Custom Content To Headers and Footers Of A WordPress Website?
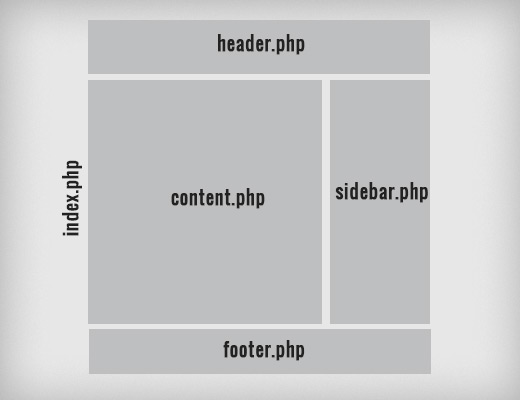
WordPress is widely known for its simple templating system and it is one of the reasons it is highly popular among bloggers. The header content of a WordPress website is stored in the “header.php” file and the footer content is stored in “footer.php” file.
The code stored in these files is typically the “plain HTML” content and there are only a few bits of the PHP code, also known as tenplate tags, which dynamically display the metadata.
Adding Content To Header
The Header in a WordPress website is segregated into two parts:
Top Part or Meta Header
Here, you can insert the meta-data tags to enhance the Search Engine rankings of the website. This part also contains the links to theme’s stylesheets.
Lower Part or Header
Here you can insert the branding info pertaining to your business or blog such as a logo, website or company’s name, and taglines.
To edit the header content, whether you need to edit the code not completely depends on the theme you are using. Most of the WordPress themes these days come with the “easy-to-use” admin panels which enable you to customize the headers, footers and the other areas of the web page.
But, if you want to do it through the coding, here are the steps that you need to follow:
- First of all, set up a child theme for the theme that you are using.
- Now copy and paste your web site’s “php” file. Now, whatever changes you’ll make, you would make it to the copied file’s stylesheet.
- Lets’ say you want to replace the default “MySite” in the header area with your Logo. For this, first locate the site title field. It is typically contained in the site’s H1 tag and is exhibited by the blog_info () template tag.
- To replace the title with Logo, open the “css” file in the child theme’s folder and paste the following code there, specifying the dimensions and other details of the logo.
Similarly, you can add the other info to the Meta Header or the Header.
Adding Content To The Footer
The standard footer on a WordPress web page is also divided into two sections:
Top Section or Footer Area
The top section is often used to add information like privacy policy, legal disclaimer, sitemap, social buttons and other primary links to the website’s different pages or categories.
Bottom Section or Blog Area
This section of the footer is often used to mention the date and the copyright info.
Apart from these two sections (rows), the footer can be divided into the multiple columns instead of the two horizontal rows.
To edit the footer area, you have to modify the original code of the “footer.php” or you have to make the style changes through the “style.css” file. In standard themes, the footer area usually contains “Powered By WordPress” line. Here, we will edit this and replace this with the website’s copyright info and date.
First of all, create a child theme and copy the “footer.php” and open the same file in the child theme with the code editor.
Remove the line that starts with
<a href="<?php echo esc_url(__("http://wordpress.org/" "theme's name"
|
Once, this line is removed, your website will start showing the “Copyright” section.
A Word Of Caution
Ensure that you make all the changes which you make are made to the files in the child theme, else, hen the main theme will get updated, all the changes would be lost.
If you only want to make changes in the layout of the header and footer, then edit only the “style.css” file and don’t make any changes to the template files, that is, header.php and footer.php.
The changes that you made will only affect the theme’s files you have edited. If you have other themes for your websites, the changes will not reflect on those changes.
Using Plugins To Edit The Header and Footer Area
One of the best ways to edit the header and footer section of a website is by using the specific plugins that make it extremely easy. Moreover, you don’t have to get into the code of the website. These plugins have easy to use interfaces that allow you to write the custom content in your webpage’s header and footer section.


