Similar to any word processor, WordPress’ Visual Editor is a brilliant, yet an easy-to-use tool which helps edit your website content. Known as What-You-See-Is-What-You-Get (WYSIWYGY), the editor works in three modes, namely Visual, HTML and Media, where changes made in editing depict exactly what your profile will look like, once you save the changes.
You might be able to figure some of the features out after some experimenting around with the tool, but to make the best of this functionality, it’s important to learn about various things that you can do, to enhance editing:
- In the editing mode, after switching to the Visual Tab at the top-right corner, take a minute to use the mouse to hover over each of the many symbols present, to get the gist of what each does.
- With the use of alignment options, both your text and images can be positioned to the left, middle and right-side of the page. By clicking individual options, you can preview the way your content looks, before making the desired changes.
- Your theme will have some built-in styles that can be made use of through this editor, using the drop-down style menu. These include different headings, symbols and other pre-defined options.
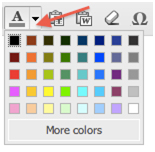
- Make your text colorful with the help of the color selector.
- If you wish to remove the entire formatting done on any segment, simply highlight the portion with your cursor, and click on the Remove Formatting button.
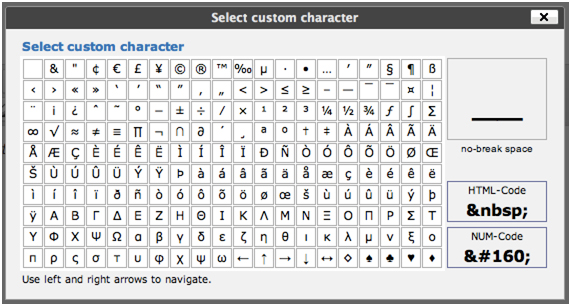
Customized characters are made available, as they are pre-defined in each theme. Some options you’ll see would be:
Finally, for those who will need to use the effects multiple times, to quicken the editing, it’s best to make use of Hotkeys or keyboard shortcuts, which can be obtained from the Help icon.


