Before delving into the use of Plesk, perhaps explaining what exactly Plesk is would be helpful. Plesk is a software that helps with the management of your website and domain. It is a control panel software used for a Windows server. If you use certain databases, they provide with your cPanel, Plesk is essentially a substitute for the same. However, the advanced functionalities that accompany Plesk are good enough to attract your attention, and this article attempts to make you aware of the same.
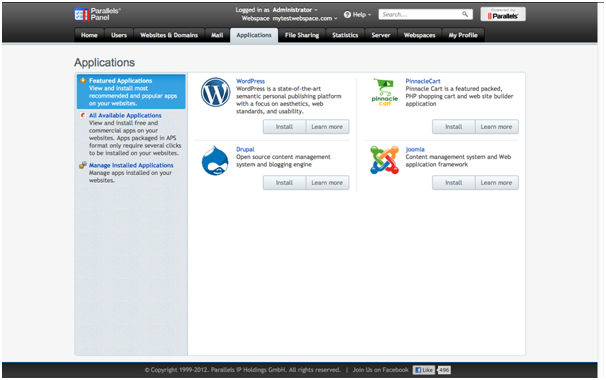
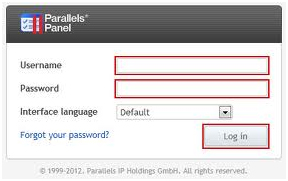
It is an easy step-by-step procedure to install WordPress using Plesk. It is, in summation, just a few clicks away. The first step would be to login to the Plesk control panel with your username and password. Next proceed to web hosting and click on web applications. Before you do the same ensure that your php safe mode is off. After entering the web applications page, under the install web application button search for WordPress. You have the discretion of installing WordPress either as a directory or under the subdirectory. Click on document root if you would prefer that WordPress is not a sub directory.
Now that you are in the process of installing WordPress, the next few steps are fairly simple. Choose a database and directory password for your account. Ensure that you have alphabets, numerical and characteristics in your password to ensure maximum safety. The last step is to enter a page title that can even be changed at a later date. Now all that is left to do is click on install and you have WordPress on Plesk!
If you want to transfer your account to Plesk, you would merely need to import the files and finally export it to your new Plesk account.


